
Search

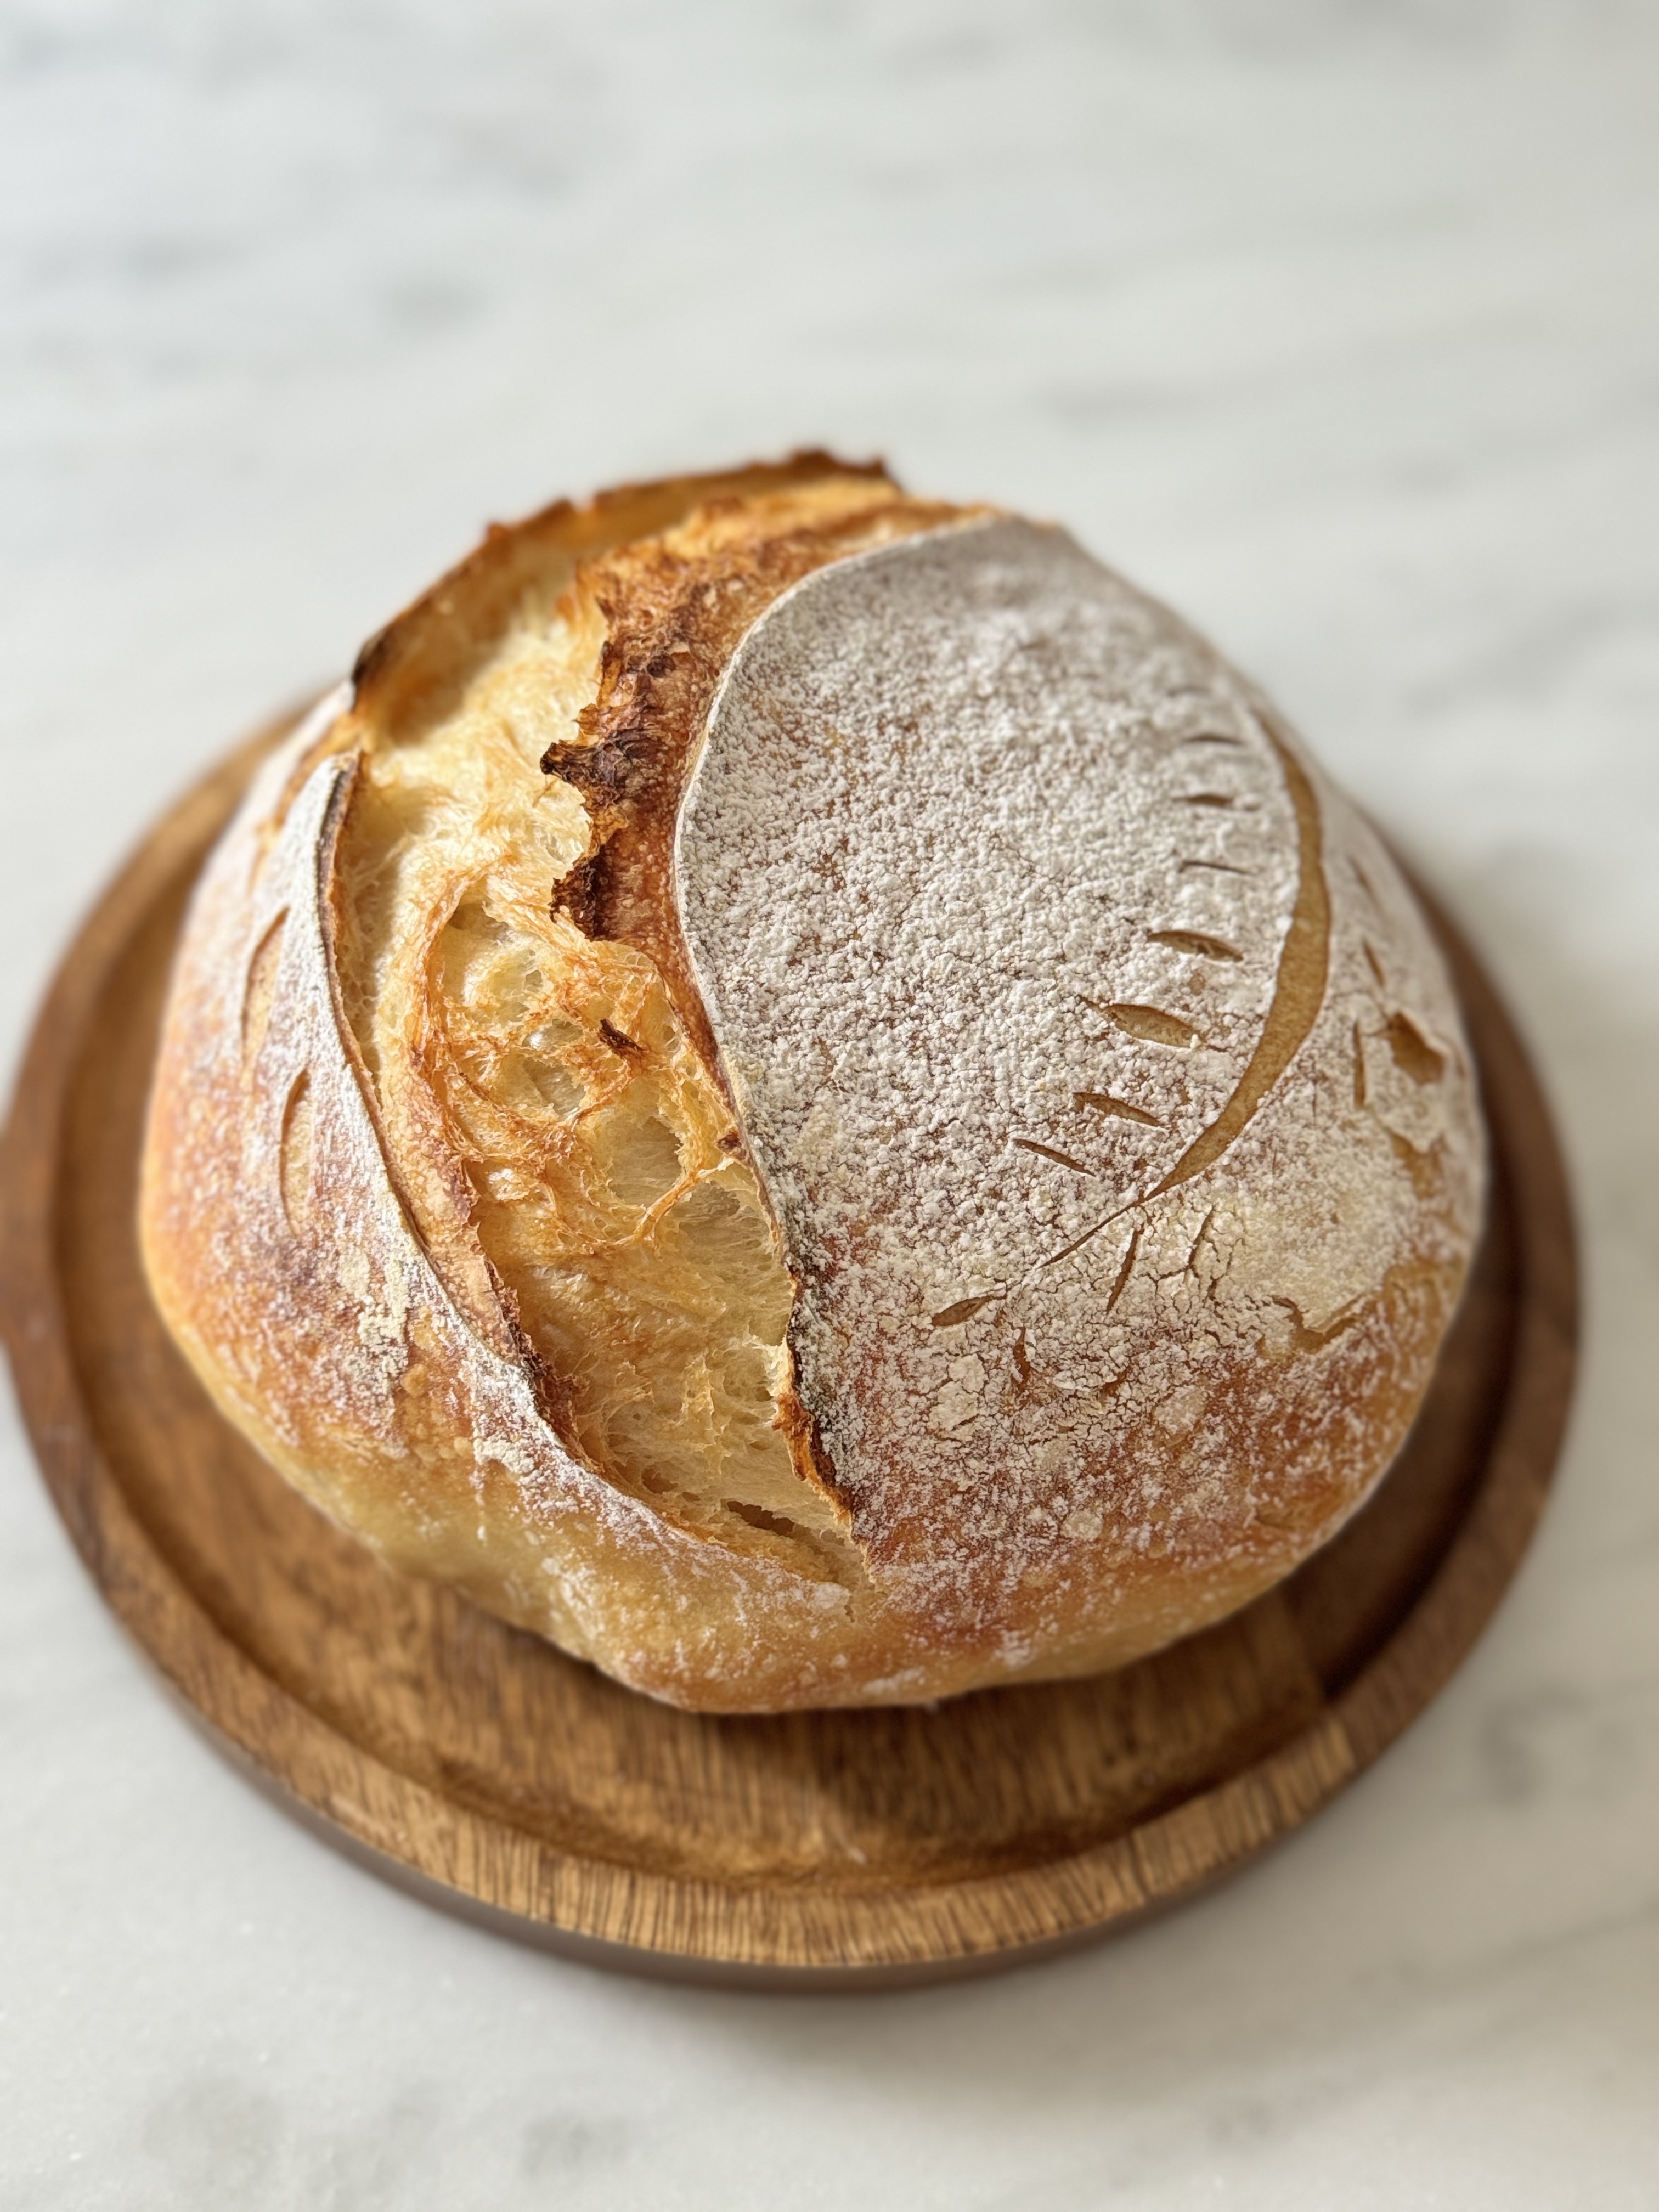
A crusty, golden Artisan sourdough boule with a soft, airy crumb.
I was gifted a sourdough starter from my dear friend Amanda, after failing to create my own—I had forgotten to feed it during the winter and left it by a cold window. Oops. But I was intrigued by sourdough and all the benefits people kept talking about. After researching and convincing myself to try again, I asked Amanda for some of her starter and began my own sourdough journey.
I started following sourdough bakers and gurus on social media, soaking up everything I could. Finally, I made my first loaf—and I was hooked. The process, the smell, the crackle of the crust fresh out of the oven... it was magic. A year later, after many loaves, flops, tweaks, and notes, this is what works for me. It gives me the kind of sourdough I love: a golden, crunchy crust with a fluffy and airy crumb.
One thing I’ve learned is that sourdough is surprisingly forgiving. Almost every "oops" moment can be salvaged. Tiny details can make a big difference—like using warm water versus cold, or tap water versus filtered. While there are shortcuts and methods for every type of baker, one thing you can’t rush is time.
I’ve developed a schedule that fits our home rhythm, so I can have fresh bread ready either in the morning for breakfast or just in time for dinner. Whether you’re brand new or already obsessed, I hope this post gives you something practical, encouraging, and delicious to bring to your own kitchen.
digital scale
bench scraper
banneton
razor blade
heavy duty bowl with lid
dutch oven
Feed your starter 6-8 hours before using it to begin the process.
1. In a large bowl, combine 125g active starter with 365g water. Stir to dissolve. Add 500g flour and mix until no dry spots remain. The dough will look shaggy. Cover with a damp towel and let rest for 30–45 minutes (this is the autolyse). There are times when I skip this step and add the salt right away.
2. Sprinkle 10g salt over the dough and mix with wet hands until fully incorporated. You can gently knead or pinch and fold the dough for a few minutes.
3. During this time, perform 3–4 sets of stretch and folds every 30–45 minutes:
Grab one side of the dough, stretch it up, and fold it over.
Rotate the bowl and repeat 3–4 more times.
The dough should become smoother, puffier, and more elastic over time.
4. Let the dough rest, covered, at room temperature (ideally 72–78°F) for 8-10 hours. I usually cover it and leave it inside my microwave to control the temperature depending on the season. Depending on when you begin your process, once your dough has doubled in size you can move on to shaping and the second rise.
5. After the dough has rested, it's time to shape it into a tight, round boule. Gently flip the dough over so the smooth top is now facing down and the sticky side is facing you.
Fold the edges of the dough toward the center like an envelope to begin building surface tension. Then, gently flip the dough over so the seam is on the bottom and the smooth side is facing up. Cup your hands around the dough and gently drag it toward you on the counter, using friction to tighten the surface. Rotate the dough and repeat this motion a few times in a circular pattern until the boule feels tight and holds its shape. If it starts to spread too much, use your hands to gently tighten it again. Once shaped, transfer the dough seam-side up into a floured proofing basket or bowl for the cold proof.
6. Cover the dough and refrigerate overnight (8–12 hours). This slows fermentation and enhances flavor and structure. (You can bake it after a couple of hours on the counter once it has risen again)
7. Place a Dutch oven (with lid) in your oven and preheat to 450°F (245°C) for 30–45 minutes.
Remove dough from the fridge, gently turn it out onto parchment, sprinkle some flour and score the top with a sharp blade or lame.
8. Carefully place the dough into the hot Dutch oven. Bake covered for 25 minutes, then bake uncovered for 20-25 more minutes, until golden brown and crusty.
9. Let your loaf cool on a wire rack for at least 1 hour before slicing. This helps the crumb finish setting and prevents gumminess.
Yellow Cocina is an Amazon Associate partner and may earn from qualifying purchases.